Preface
Main idea: Setup pfSense in Eve-NG Virtual Machine S1
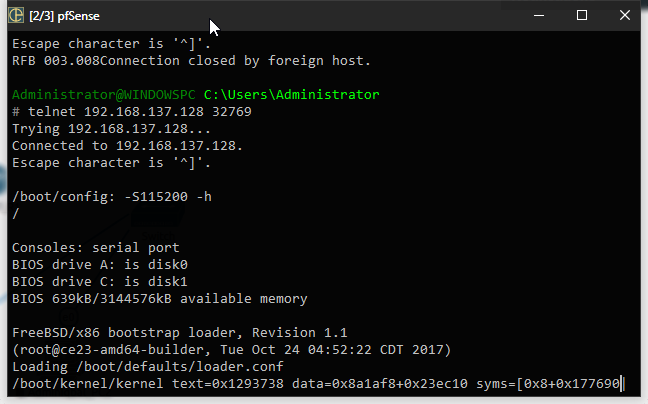
First boot after installation
After pfSense installation.. I will restart and here we go
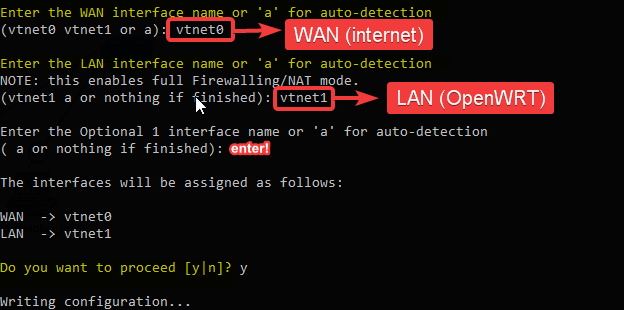
In my lab, my pfSense consist of 2 Nic (WAN and LAN) - vtnet0: WAN 192.168.137.189 (DHCP) - vtnet1: LAN (to OpenWRT) 192.168.1.1
This process till be take a long, maybe about 10 minute in my machine.
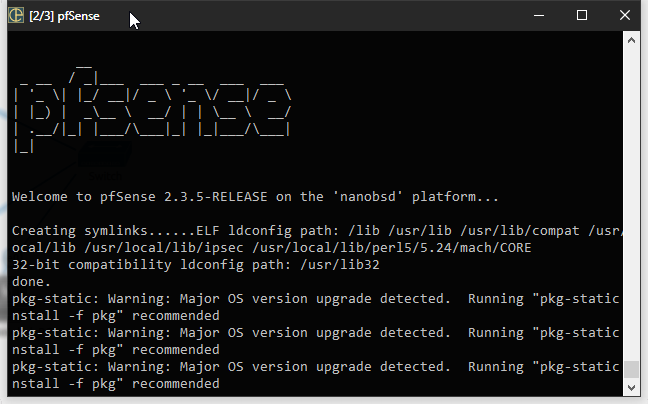
Until the banner “pfSense” appear on screen
WAN Setup (vtnet0)
LAN Setup (vtnet1)
In the setup menu
0) Logout (SSH only)                  9) pfTop
 1) Assign Interfaces                 10) Filter Logs
 2) Set interface(s) IP address       11) Restart webConfigurator
 3) Reset webConfigurator password    12) PHP shell + pfSense tools
 4) Reset to factory defaults         13) Update from console
 5) Reboot system                     14) Enable Secure Shell (sshd)
 6) Halt system                       15) Restore recent configuration
 7) Ping host                         16) Restart PHP-FPM
 8) Shell
Set interface’s IP address
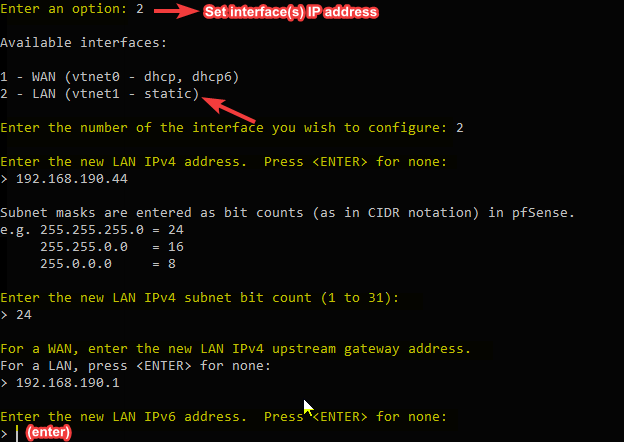
After setup Static in vtnet1 LAN interface, activate DHCP server in this interface.
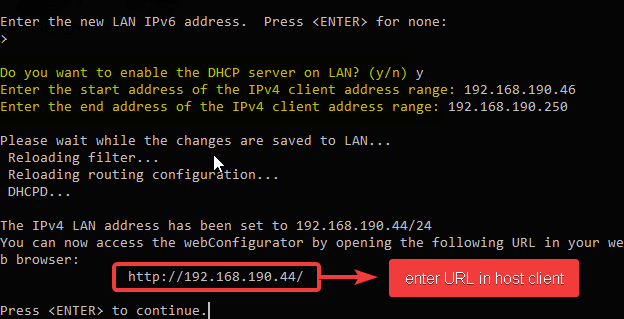
Set DHCP mode in client host
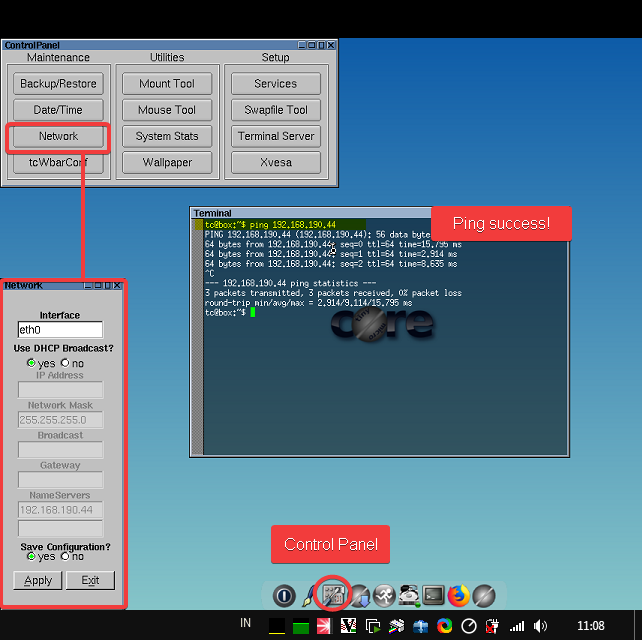
Ping 192.168.190.44 success, you can access pfSense GUI in tinycore. If you just perfectly connect WAN interface to the internet, it just open your browser in outside lab.